
Today I made banana bread to bring to work tomorrow. I hadn't tried this recipe before but it had so many good reviews so I decided to go for it (mostly because I had all the ingredients on hand).
I thought it turned out well. The taste was fantastic. The texture was only okay. I like my banana bread pretty dense and this wasn't as dense as I like. It was more like the density of a heavy whole grain bread. If you like a lighter banana bread, definitely give this a try.
After work I went to find a mini loaf pan for my banana bread. I love making things in "mini" sizes, there are just so many great things about it!

Why I think baking the mini version is awesome...
1) Mini = cute
2) Mini cooks faster
3) It's easier to tell when mini things are done
4) Mini things package easily for gifts
5) By making things mini, it gives you a better opportunity to test out the finished product before serving it to other people (HUGE bonus)
I plan to post more awesome mini recipes in the future, but back to my mini banana bread. Here is the recipe I used. It is based off of this one from food.com (here).
Banana Bread
Ingredients
2 cups all-purpose flour
1 teaspoon baking soda
1/4 teaspoon salt
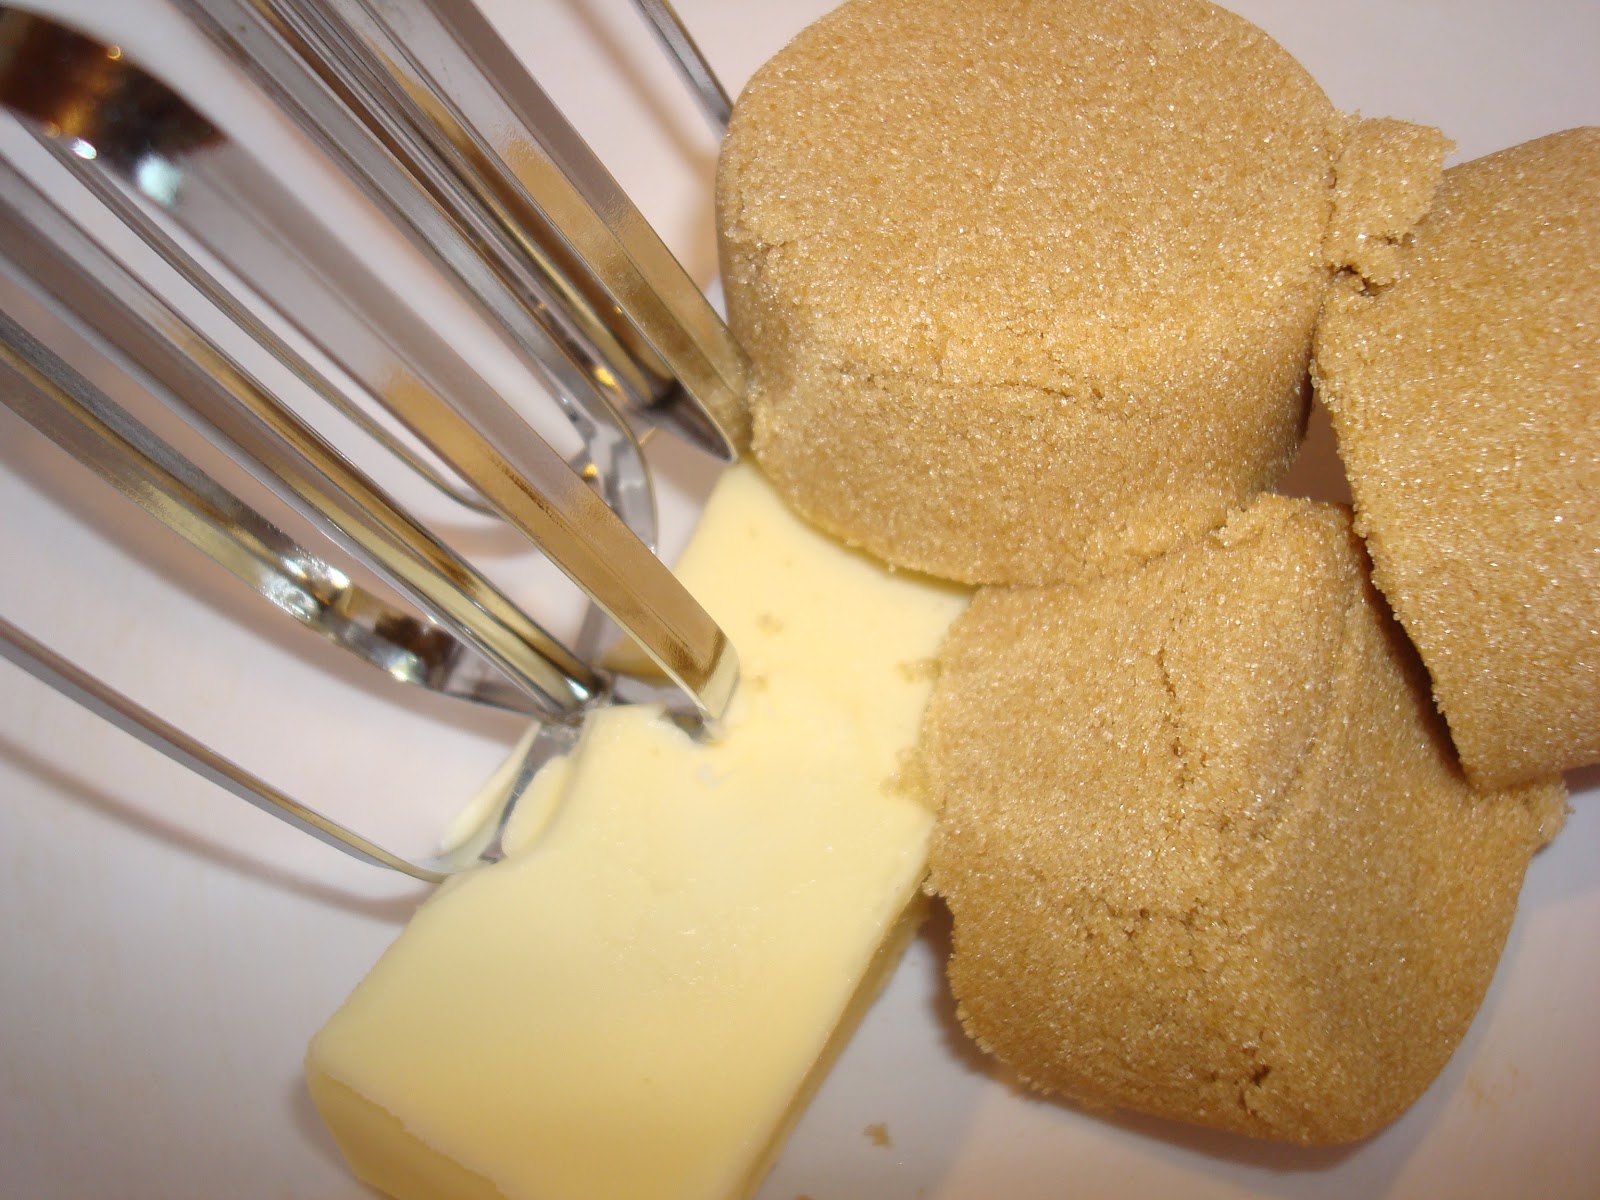
1/2 cup butter
3/4 cup brown sugar
2 large eggs, beaten
1 teaspoon baking soda
1/4 teaspoon salt
1/2 cup butter
3/4 cup brown sugar
2 large eggs, beaten
1 tsp vanilla
2 cups mashed very overripe bananas
2 cups mashed very overripe bananas
The changes I made were that the recipe called for 2 1/3 cups of bananas and no vanilla. My 4 bananas only yielded 2 cups. And I added vanilla because I like the flavor.

First I preheated the oven to 350 degrees. Then I got everything ready to go: dry ingredients in a large bowl, butter and sugar in another, and eggs and bananas on deck.

Next I creamed the butter sugar until smooth.
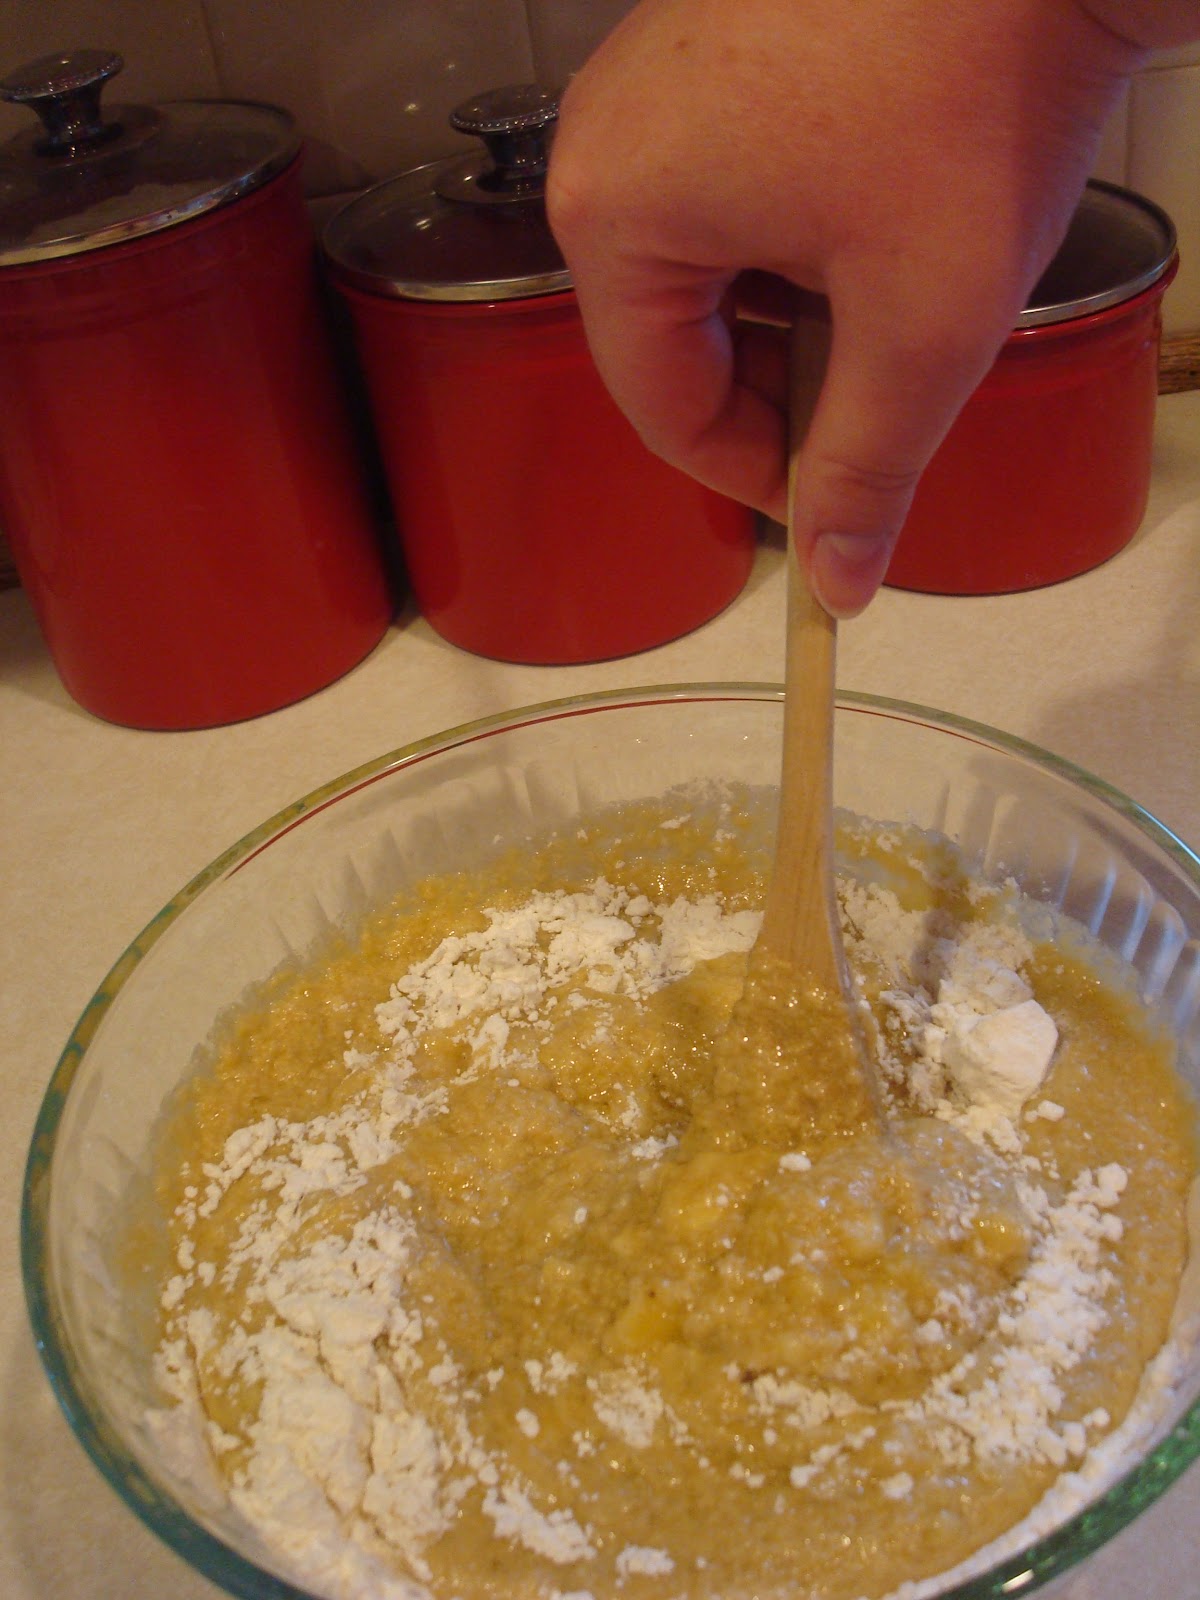
After that I stirred in the eggs, bananas, and vanilla. Then added the wet ingredients to the dry ones and stirred just until everything was incorporated.

Into the oven... The original directions said that it would take 60-65 minutes for a loaf.

I started checking for doneness after about 15 minutes. All in all it took about 25 minutes for these guys to cook.

After a couple minutes I moved them to a rack to finish cooling. They came out of the baking pan without a fight.

I sliced up seven of the loaves to bring to work tomorrow.

And I may have snuck a piece to see how it turned out. Mmmm

And I even packaged the remaining two up. I was inspired by these adorable muffin liners I got on clearance from Michael's last week. So cute!! I brought one to another neighbor and have the other sitting in the fridge.

Tonight I also decided to doll up my muffins from last night. Wasn't sure they could get cuter, but I think I did it! I'll post about that tomorrow so stay tuned :-)
Until then, have a great Friday everyone!
No comments:
Post a Comment