Showing posts with label mini treats. Show all posts
Wednesday, June 15, 2011
Mini Oreo Cheesecakes
Cheesecake. Probably my favorite dessert. A couple years ago, I was introduced to this place in St. Paul called Cafe Latte. It is sort of an upscale cafeteria-style place and I was told that desserts were their specialty so definitely leave room. That day I got my first taste of Oreo Cheesecake. It was sooooo good! I've since gone back once or twice but haven't been lucky enough to run into Oreo Cheesecake again.
Solution: make my own! So here's my version, mini-sized.
Mini Oreo Cheesecakes
Ingredients
Crust:
18 Oreo cookies
3 Tbls butter
Cheesecake:
3 8oz packages of cream cheese, room temp
1 15oz can sweetened condensed milk
3 eggs
2 Tbls vanilla
12 Oreos, roughly chopped
Oreos for topping
Directions
Prep: Heat oven to 350 degrees
1. Line 24 muffin cups with liners
2. Add 18 Oreos to a food processor
3. Pulse until crumbs form
4. Melt butter in a small bowl. Add Oreos and combine until evenly coated.
5. Add a rounded tablespoon of the Oreo mixture to each liner
6. Use a shot glass to press crumbs into the bottom of the liner. I find it works best to press and twist as you lift up to prevent sticking
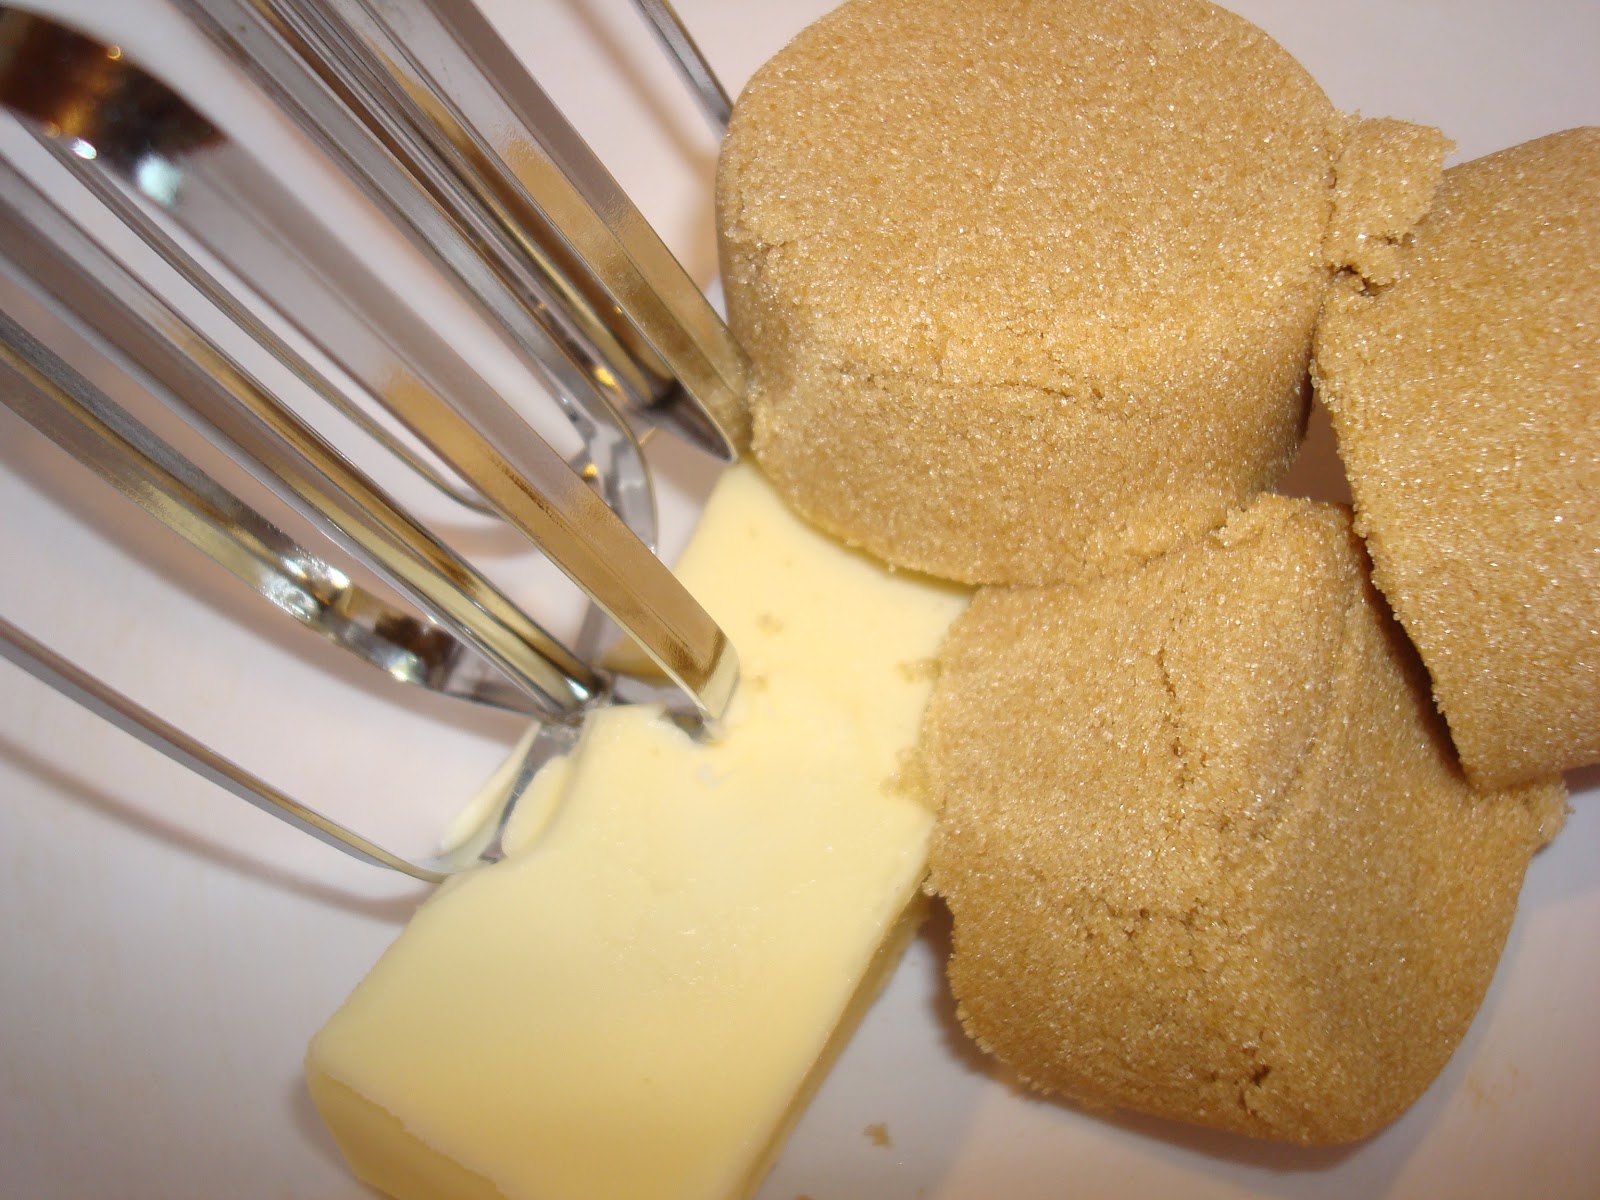
7. In a large bowl, beat softened cream cheese until fluffy
8. Beat in sweetened condensed milk
9. Add eggs one at a time, beating after each one
9. Add vanilla and combine
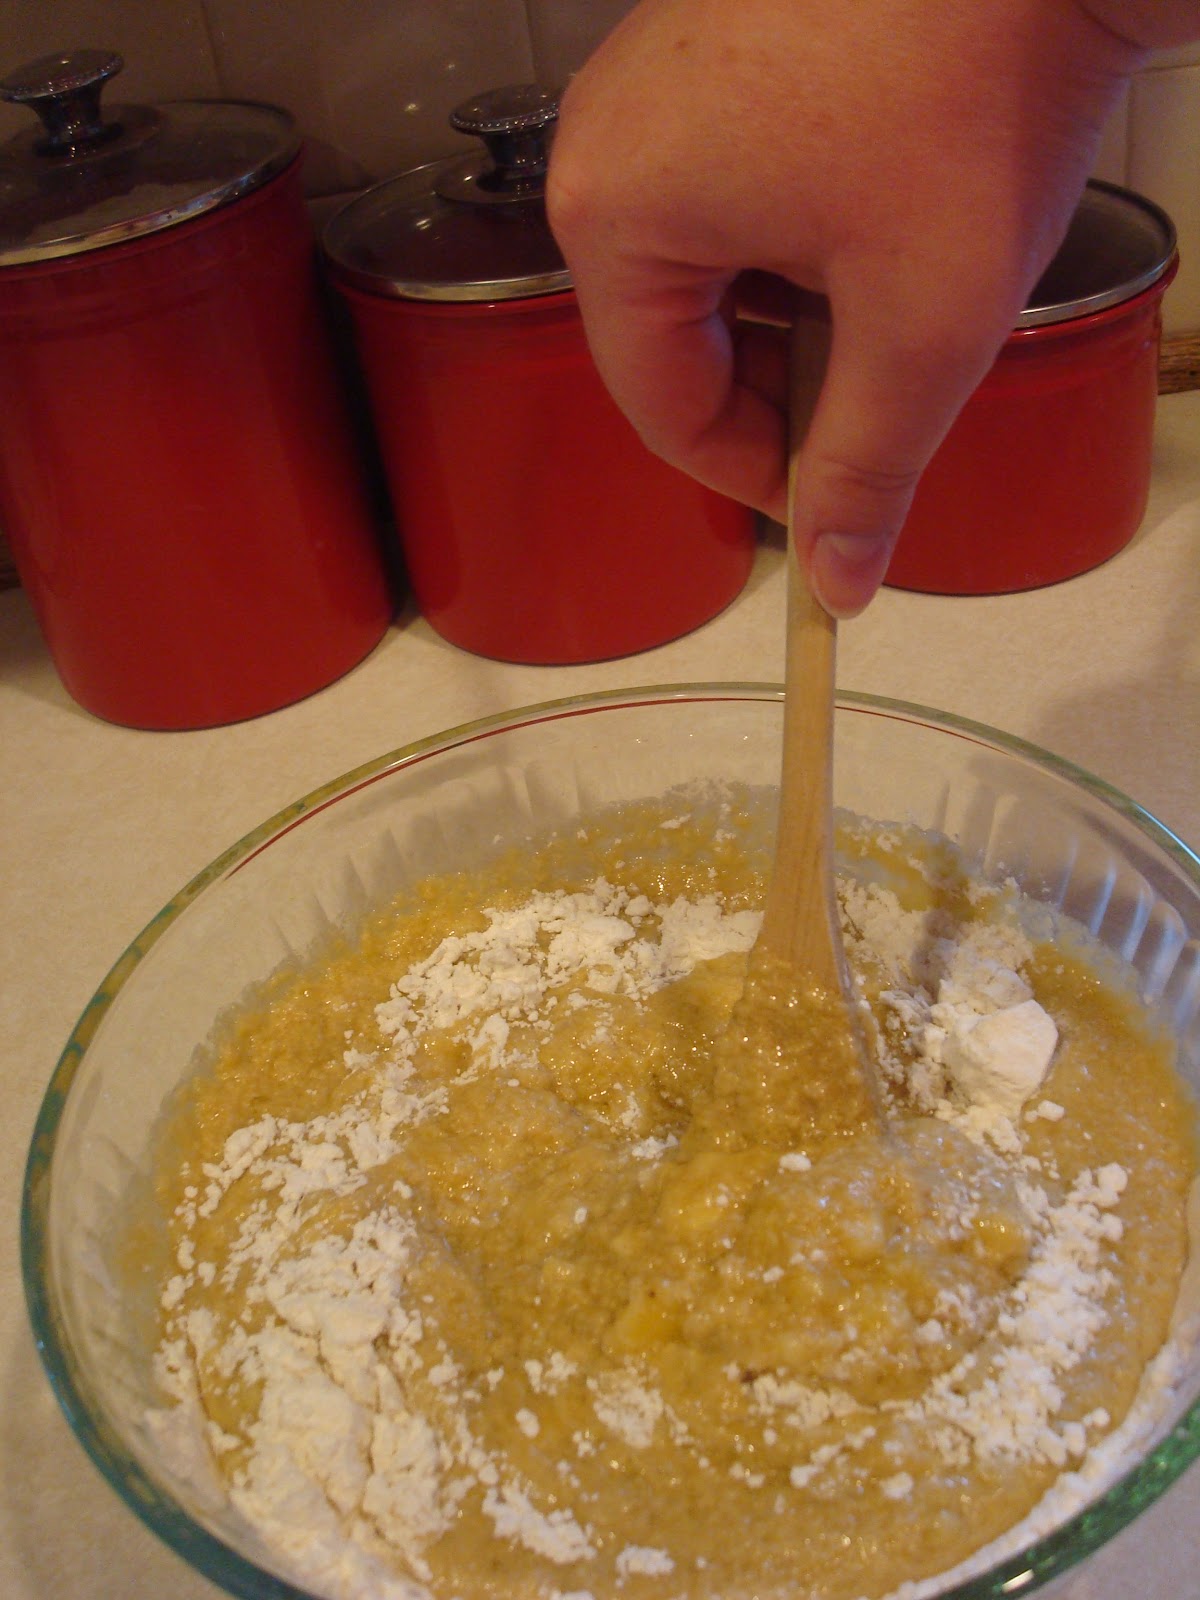
10. Add chopped Oreos to the batter
11. Stir until just combined
12. Spoon batter into muffin liners
They will be pretty full when you are done, that's okay
13. Bake for approximately 15 minutes, rotating pans halfway through
14. Let cool in pan for 5 minutes then remove to cooling rack or directly to refrigerator
15. Top with quartered Oreos if desired
Last but not least, ENJOY!
Thursday, April 21, 2011
Easter Cake Pops & an Edible Easter Centerpiece
Easter is coming up quick! We are heading out of town tomorrow to celebrate Easter with B’s side of the family. B is an accountant and this is the first weekend since being released from the bondage of tax season (yay!!). It will be nice to get away for a few days.
I had an idea for an edible centerpiece using cake pops and cookies. So while making cake pops this week, I decided to make some easter egg cake pops as well.
Working with the melted chocolate was quite a humbling experience. Certainly not as easy as it looks! My eggs didn’t turn out like I had envisioned.
They don’t exactly scream Easter... In fact, they pretty much look like a hot mess.
Tonight I decorated the big and small cookies, dressed up a small vase-thing I had, and ta-da! An edible centerpiece.
What about you... Any Easter projects? Or, cake pop projects gone bad?
And, I'm not positive, but this one may or may not be getting ready to hatch a tiny dragon...
But, oh well, Easter must go on!
As for the cookies for my centerpiece, remember my cookie experiments last weekend? I wanted to try making cookie pops and mini cookie pops.
These are actually a total snap! I'm definitely looking forward to more excuses to make these.
For the little cookies I just rolled the dough out like I normally would for my cookies.
I inserted the toothpicks carefully and baked as usual.
Then I just cooked them as usual. It was really that easy!
These would make such a cute topper for cupcakes. You could use any shape or even cut out letters to spell someone’s name.
For the big cookie pops I rolled my dough extra thick, just shy of half an inch, and cut out cookies like normal. While the dough was still raw, I gently inserted a 6-inch lollipop stick into the cookie. It goes it pretty easily if you twist it slightly while inserting it.
I flipped my cookies over to check if the stick had broken through the dough on the bottom side and in three out of four cookies, it had. On those ones I just took a little dough and pressed it flat with my fingers and patched it up. Then I put that side face-down on the pan.
I cooked them a couple minutes longer than usual since they were so thick.
They cooked up beautifully and the lollipop sticks didn’t catch on fire in the oven so that’s a plus! Not that I was irrationally worried about that or Googled incessantly in preparation to make sure it was okay.
But all was well and they came out great!
What about you... Any Easter projects? Or, cake pop projects gone bad?
Thursday, April 14, 2011
Banana bread
The house smells divine and here's the culprit...
I plan to post more awesome mini recipes in the future, but back to my mini banana bread. Here is the recipe I used. It is based off of this one from food.com (here).
Next I used a 1/3 cup measuring cup to fill the bread molds. This would have been a perfect application for a traditional ice cream scoop but I only have the cookie size. But this seemed to work well. I just used a spoon to divide any remaining batter among the molds.
Into the oven... The original directions said that it would take 60-65 minutes for a loaf.
I started checking for doneness after about 15 minutes. All in all it took about 25 minutes for these guys to cook.
And they came out beautifully.
After a couple minutes I moved them to a rack to finish cooling. They came out of the baking pan without a fight.
I sliced up seven of the loaves to bring to work tomorrow.
And I may have snuck a piece to see how it turned out. Mmmm
Today I made banana bread to bring to work tomorrow. I hadn't tried this recipe before but it had so many good reviews so I decided to go for it (mostly because I had all the ingredients on hand).
I thought it turned out well. The taste was fantastic. The texture was only okay. I like my banana bread pretty dense and this wasn't as dense as I like. It was more like the density of a heavy whole grain bread. If you like a lighter banana bread, definitely give this a try.
After work I went to find a mini loaf pan for my banana bread. I love making things in "mini" sizes, there are just so many great things about it!
Why I think baking the mini version is awesome...
1) Mini = cute
2) Mini cooks faster
3) It's easier to tell when mini things are done
4) Mini things package easily for gifts
5) By making things mini, it gives you a better opportunity to test out the finished product before serving it to other people (HUGE bonus)
I plan to post more awesome mini recipes in the future, but back to my mini banana bread. Here is the recipe I used. It is based off of this one from food.com (here).
Banana Bread
Ingredients
2 cups all-purpose flour
1 teaspoon baking soda
1/4 teaspoon salt
1/2 cup butter
3/4 cup brown sugar
2 large eggs, beaten
1 teaspoon baking soda
1/4 teaspoon salt
1/2 cup butter
3/4 cup brown sugar
2 large eggs, beaten
1 tsp vanilla
2 cups mashed very overripe bananas
The changes I made were that the recipe called for 2 1/3 cups of bananas and no vanilla. My 4 bananas only yielded 2 cups. And I added vanilla because I like the flavor.
First I preheated the oven to 350 degrees. Then I got everything ready to go: dry ingredients in a large bowl, butter and sugar in another, and eggs and bananas on deck.
Next I creamed the butter sugar until smooth.
After that I stirred in the eggs, bananas, and vanilla. Then added the wet ingredients to the dry ones and stirred just until everything was incorporated.
Into the oven... The original directions said that it would take 60-65 minutes for a loaf.
I started checking for doneness after about 15 minutes. All in all it took about 25 minutes for these guys to cook.
And they came out beautifully.
After a couple minutes I moved them to a rack to finish cooling. They came out of the baking pan without a fight.
I sliced up seven of the loaves to bring to work tomorrow.
And I may have snuck a piece to see how it turned out. Mmmm
And I even packaged the remaining two up. I was inspired by these adorable muffin liners I got on clearance from Michael's last week. So cute!! I brought one to another neighbor and have the other sitting in the fridge.
Tonight I also decided to doll up my muffins from last night. Wasn't sure they could get cuter, but I think I did it! I'll post about that tomorrow so stay tuned :-)
Until then, have a great Friday everyone!
Wednesday, April 13, 2011
Say hello to my little friends...
Every Friday at work we have treat day. Treat day is nice to have, no doubt (my last company was so massive that a weekly treat day was not feasible). However, the best treat days are the ones where, you guessed it, I get to bring treats! Since I started at my company last November, I didn't get added to the treat-bringer list until January so this is only my second one. Last time I made Cinnamon Chip Scones. I will definitely make them again and post here!
But today I made adorable little Mini Chocolate Chip Muffies (is that a word?). They are so cute. This was the first time I tried this recipe. Here's how I did it...
Mini Chocolate Chip Muffies
Ingredients
2 cups all-purpose flour
1/3 cup light-brown sugar
1/3 cup sugar
2 teaspoons baking powder
1/2 teaspoon salt
2/3 cup milk
1/2 cup butter, melted
2 eggs
I mixed together the wet ingredients, dry ingredients, and one cup of chocolate chips in the larger bowl just until everything was incorporated.
I had to get this batch onto the cooling rack so I could get to second batch into the oven. Note to self: a second mini muffin tin would be a great addition to my kitchen!
This recipe made exactly 48 muffies. They were oh so adorable!
I just had to cut into one...
I had one half and B tried the other half. We both agreed they were delish!
And, it just so happened we got a bit of our neighbor's mail today so I just had to pack some up for B to bring over while returning the lost mail. (Hey, any excuse to put some goodies in a cellophane baggie with a little ribbon for somebody and I'm in!)
Looking forward to bringing these little cuties to work on Friday. Tomorrow I'm making banana bread to bring as well so look for another post then!
Happy baking!
My little lovelies - Mini Chocolate Chip Muffies |
But today I made adorable little Mini Chocolate Chip Muffies (is that a word?). They are so cute. This was the first time I tried this recipe. Here's how I did it...
Mini Chocolate Chip Muffies
Ingredients
2 cups all-purpose flour
1/3 cup light-brown sugar
1/3 cup sugar
2 teaspoons baking powder
1/2 teaspoon salt
2/3 cup milk
1/2 cup butter, melted
2 eggs
1 teaspoon vanilla
1 1/4 cup milk chocolate chips, divided
Directions
(Preheat oven to 400 degrees)
First I mixed the dry ingredients in a large bowl.
Then I mixed melted the butter and mixed the wet ingredients together in a smaller bowl.
Then I prepped my mini muffin pan by spraying each opening with Pam. I laid a paper towel down over the entire pan (but not into crevices) to wipe up excess cooking spray before adding batter.
One of my favorite kitchen gadgets is this cookie scooper. It's like a mini ice cream scoop if you haven't seen them before. One scoop was perfect for filling the muffin openings and I wasn't left with a messy pan to clean up! They are so useful, I definitely plan to pick up some other sizes at some point.
Finally, I added a couple chocolate chips to the top of each muffin and put them in the oven.
They only took about 8 minutes until the tops sprung back when gently pressed and a toothpick inserted came out clean. And, this is what we got... perfect little chocolaty pillows of perfection!
I don't often cook muffins without liners but I was very pleasantly surprised how easily the popped right out of the muffin tin. I really need to do it that way more often!I had to get this batch onto the cooling rack so I could get to second batch into the oven. Note to self: a second mini muffin tin would be a great addition to my kitchen!
This recipe made exactly 48 muffies. They were oh so adorable!
I just had to cut into one...
I had one half and B tried the other half. We both agreed they were delish!
And, it just so happened we got a bit of our neighbor's mail today so I just had to pack some up for B to bring over while returning the lost mail. (Hey, any excuse to put some goodies in a cellophane baggie with a little ribbon for somebody and I'm in!)
Looking forward to bringing these little cuties to work on Friday. Tomorrow I'm making banana bread to bring as well so look for another post then!
Happy baking!
Subscribe to:
Posts (Atom)