Showing posts with label cake pops. Show all posts

Thursday, May 19, 2011

Cake Pops with Friends

This past weekend I got to catch up with two friends, Terri and Marie. We've known each other for a long time - we went to the same church, middle school, high school, and college. Terri has since moved (too) far away and gotten married. Marie and I decided to make the trek to Wisconsin to see her together. Marie and I go WAY back... we grew up next door to each other since we were 5 years old. We were also roommates all four years of college. 

It was so great getting to catch up with these two - we don’t see each other often enough. One of the things we planned to do over the weekend was make cake pops! Marie was the most experienced cake pop maker of us all, she’d done it several times. I’d only done it once, and it was Terri’s first time.
Marie, the cake pop pro of our group 
We decided to make a double batch and made the cakes in advance. I brought a cooked, cooled, and crumbled red velvet cake and Terri had made a yellow cake. We decided to use a canned cream cheese frosting for the red velvet cake and chocolate frosting for the yellow cake.

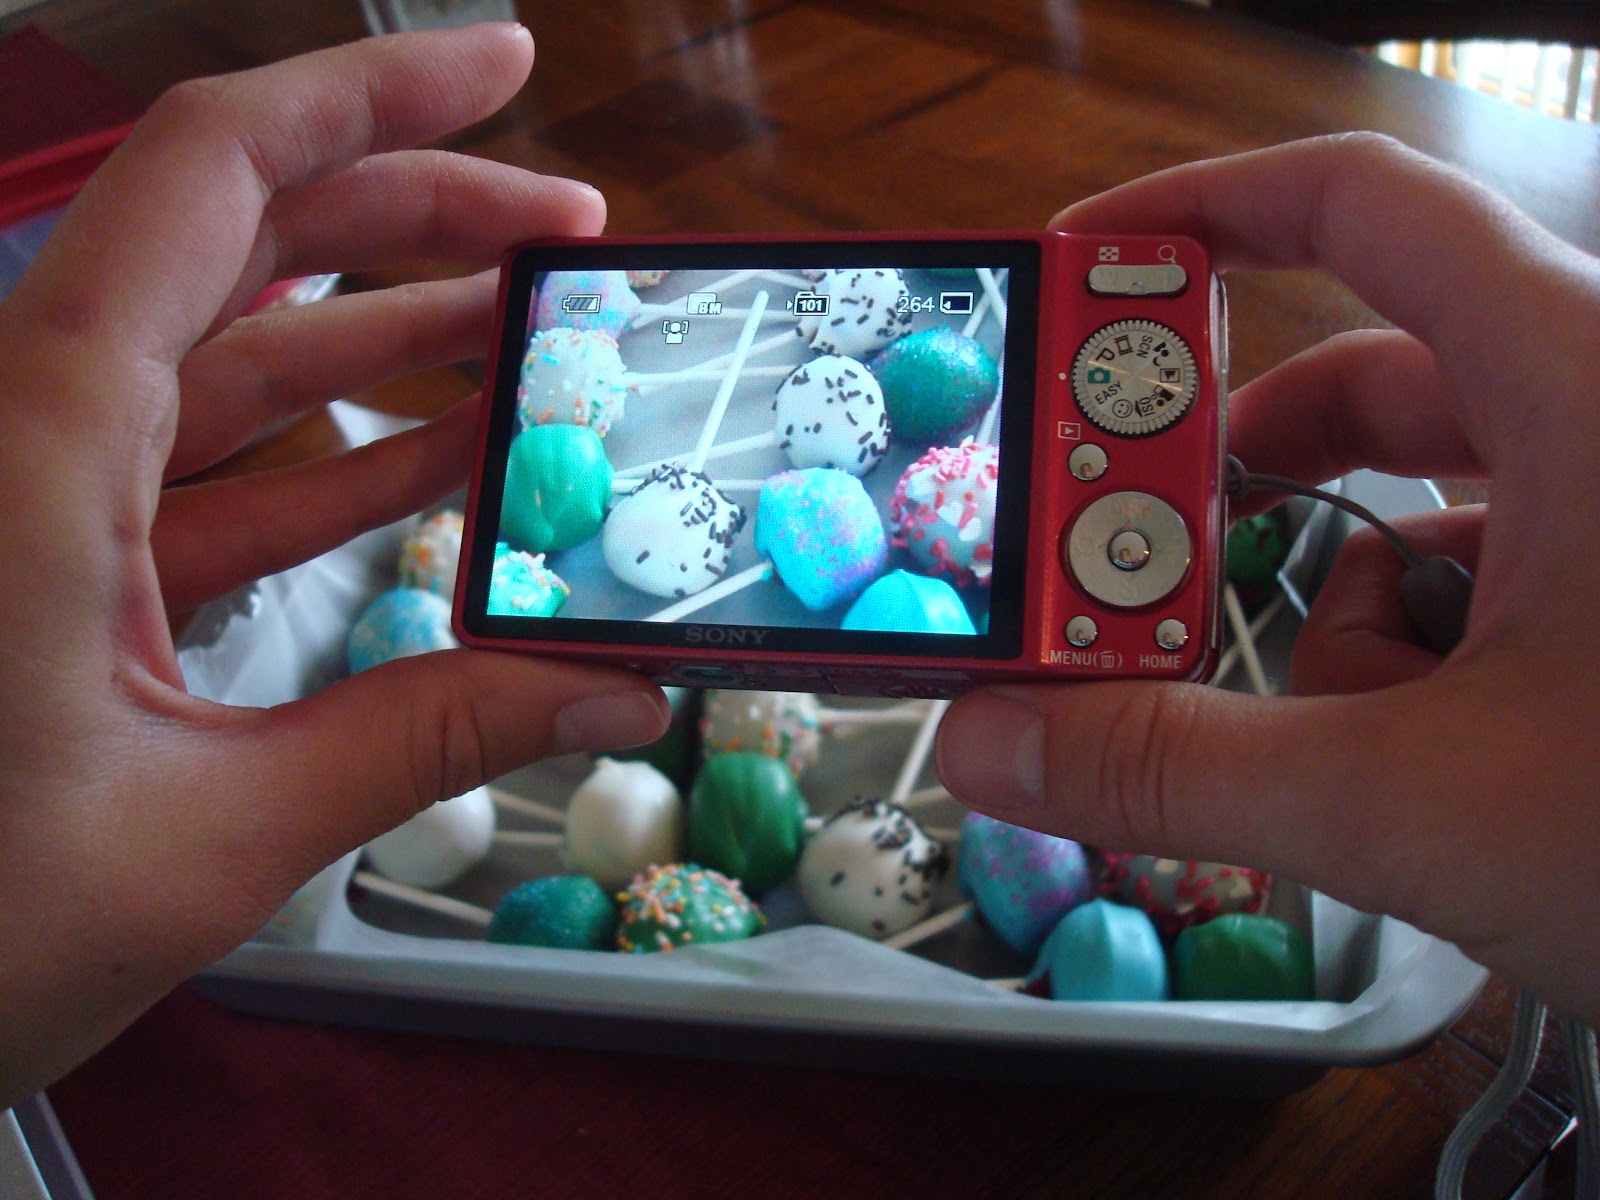
We didn't do anything too fancy with the decorations, just picked some candy melt colors and used whatever sprinkles we had on hand. 

I have to admit. Cake pops were frustrating the first time I tried them. This second time went MUCH more smoothly... Here’s a couple things I learned:

1) Don’t make extra work for yourself – go with boxed cake and canned frosting.
The first time I made cake pops, I used boxed mix but made homemade frosting. I did this mostly because I’d read in a lot of reviews that the cake pops are almost too sweet with canned frosting. Well, I’ve had both now and I disagree. I do have a sweet too, but I really don’t think they are too sweet.

Cake pops are enough work as it is, you don’t need to add making a homemade frosting to the process. The difference in taste just isn’t drastic enough to justify it, in my opinion.

2) Use a spoon to assist with coating
Marie had a great tip for us - use a spoon to help coat the pop and get the excess off. I thought this was really helpful. Work with a cake pop in your right hand and a spoon in your left (if you're right-handed). Dip the pop in the candy melts and get a spoonfull of candy coating. Use the spoon to add candy coating to any missed areas. Then (without any pressure) rest the cake pop in the spoon and gently spin. Sorry I don't have photos of this, I didn't think of it at the time. I'll get some next time.

3) Grab a friend!
Make cake pops with friends whenever possible! This is by far the most helpful tip. The first time I made cake pops it took me several evenings to get through the entire batch. Granted, I did two different kinds. But still, it was frustratingly slow. I figured we'd be making cake pops all of Saturday this time around. But we completed two entire batches in only 90 minutes! 

Teamwork is your best bet when it comes to cake pops!!
Terri, me, and Marie

I'd definitely claim this cake pop adventure a success! In fact, it was such a breeze, I'm already itching to make them again :-) Thanks for a fun weekend, girls!

Oh, and I had to make a special cake pop to bring home for my hubby...

And, in case you were wondering, cake pops make a good treat on a long car ride :-D 

Have you tried cake pops? What's your favorite tip or trick you use to make it easier?

Thursday, April 21, 2011

Easter Cake Pops & an Edible Easter Centerpiece


Easter is coming up quick! We are heading out of town tomorrow to celebrate Easter with B’s side of the family. B is an accountant and this is the first weekend since being released from the bondage of tax season (yay!!). It will be nice to get away for a few days.

I had an idea for an edible centerpiece using cake pops and cookies. So while making cake pops this week, I decided to make some easter egg cake pops as well.

Working with the melted chocolate was quite a humbling experience. Certainly not as easy as it looks! My eggs didn’t turn out like I had envisioned.

They don’t exactly scream Easter... In fact, they pretty much look like a hot mess.

And, I'm not positive, but this one may or may not be getting ready to hatch a tiny dragon...

But, oh well, Easter must go on!
As for the cookies for my centerpiece, remember my cookie experiments last weekend? I wanted to try making cookie pops and mini cookie pops.

These are actually a total snap! I'm definitely looking forward to more excuses to make these. 

For the little cookies I just rolled the dough out like I normally would for my cookies.

I inserted the toothpicks carefully and baked as usual.

Then I just cooked them as usual. It was really that easy!

These would make such a cute topper for cupcakes. You could use any shape or even cut out letters to spell someone’s name.


For the big cookie pops I rolled my dough extra thick, just shy of half an inch, and cut out cookies like normal. While the dough was still raw, I gently inserted a 6-inch lollipop stick into the cookie. It goes it pretty easily if you twist it slightly while inserting it.

I flipped my cookies over to check if the stick had broken through the dough on the bottom side and in three out of four cookies, it had. On those ones I just took a little dough and pressed it flat with my fingers and patched it up. Then I put that side face-down on the pan.

I cooked them a couple minutes longer than usual since they were so thick.

They cooked up beautifully and the lollipop sticks didn’t catch on fire in the oven so that’s a plus! Not that I was irrationally worried about that or Googled incessantly in preparation to make sure it was okay.

But all was well and they came out great!

Tonight I decorated the big and small cookies, dressed up a small vase-thing I had, and ta-da! An edible centerpiece.

What about you... Any Easter projects? Or, cake pop projects gone bad?

Wednesday, April 20, 2011

Harnessing my inner Bakerella


Have you heard of bakerella? She is the Queen of Cake Pops. Amazingly talented and endlessly creative. I don’t know where I’ve been but I just learned of her adorable creations a couple months ago.

Never heard of a cake pop? Cake pops are basically cake mixed with frosting, shaped into balls, put on a stick, and dipped in chocolate. Frankly, I don’t know why I never thought of this, when I was little my preferred method of eating cake was to mash all the cake and frosting together. I thought it tasted better all mixed up. I have since reverted to eating my cake like a normal person in case you are wondering... :-)

Well I decided to harness my inner bakerella and try my hand at these. I’ve never actually tasted a cake pop or seen one in person so I’m going in a little blind as to what the end result should be like. But that’s okay because I realized that means mine will be the best I’ve ever had! Win!

To make the cake pops I pretty much followed bakerella’s instructions.

I made the cake last night and let it cool overnight. Just went with a store bought cake - devil's food.
Tonight I made the frosting, I decided to use a homemade frosting rather than canned. 
Then I crumbled the cake.

And mixed them together until I got an even consistency that would form into balls easily.

Then I formed them into balls, covered them, and put in the freezer for 15 minutes

I formed the cupcakes by pressing the balls into a 1” flower cutter and then shaping the top into a nice dome.


After that I put them back in the freezer for another 10 minutes

When they were almost ready to come out, I melted the chocolate for the bottoms.

Then I dunked the bottoms in the chocolate, and then turned them upside-down to let any excess drip (this is a messy job!)

I dipped the end of the lollipop stick into the melted chocolate and inserted it into the bottom of the cupcake.

I then set them on wax paper while working on the others.

I popped them in the fridge and got together the rest of the decorations.

I used pink and blue candy melts for the tops.
 

When the chocolate was hardened, I dipped the tops into the melted candy.

Try to get all of the excess candy coating off by tapping your hand on your wrist to gently shake the pop.

Then I decorated the tops with sprinkles and a red M&M.

I made some in blue since these are for a special birthday boy this weekend - my nephew.
The inside of a cake pop

They are just too adorable.

I can't stop looking at them.

No, really. This may be an issue.

So, there you have it. Cake pops. Cupcake pops. Cupcake cake pops. Doesn’t matter what you call them, they’re awesome!

Maybe this cake pop had a little too much fun...?