Tuesday, November 8, 2011

Double Chocolate Orange Scones


Where did the summer go? Last time I wrote we were heading off on vacation. We spent a week exploring beautiful Colorado and it was a fun, relaxing trip. Since then we went on another vacation (a Canada/New England cruise) and I accepted a position at a new company and switched jobs. Hopefully things are finally settling down, just in time for the craziness that is the holiday season - my favorite time of year!

I'm enjoying the cooler weather we're having in Minnesota. It's the perfect excuse to once again warm the house with my oven. Who needs those scented candles when you have the real thing?


Last weekend I decided to whip up some Double Chocolate Orange Scones. I'm not a huge fan of the chocolate and orange combination but it is subtle in this recipe and quite good. I received this recipe from my mother-in-law. Someone she knew had entered it into the Pillsbury Bake-Off a few years ago - here is the original recipe. My version has the same ingredients but the preparation is a bit different. If you do not have a food processor, go ahead and follow the original recipe's instructions.


Double Chocolate Orange Scones
Ingredients
2 cups Pillsbury BEST® All Purpose Flour
1/2 cup granulated sugar
1/3 cup Hershey’s® baking cocoa
2 teaspoons baking powder
1/2 teaspoon salt
1/3 cup cold LAND O LAKES® Butter, cut into 1/2-inch pieces
3/4 cup whipping cream
1/4 cup Smucker’s® Sweet Orange Marmalade
1 teaspoon McCormick® Pure Vanilla Extract
1 cup Hershey’s® mini chips semi-sweet chocolate
1 tablespoon raw sugar (turbinado sugar), if desired
2oz Hershey’s® semi-sweet baking chocolate or 1/3 cup Hershey’s® mini chips semi-sweet chocolate


First I combined the whipping cream, vanilla, and marmalade in a bowl. Then I cubed the cold butter and placed in another bowl and put both of those in the fridge. If you're making a double batch, go ahead and measure out several portions at this step and put them all in the fridge.

Then I measured out the chocolate chips and set aside. Again, measure out the extra batches' portions at this point.

Finally, I measured out the dry ingredients. I measured out the extra batches' dry ingredients into separate bowls and one batch right into the bowl of my food processor. Using a food processor is the major difference in my preparation. While not necessary, I think it makes making scones a breeze.

After giving that a quick few pulses to combine, I got my cold ingredients out of the fridge.

I added the cold, cubed butter to the food processor and pulsed until the butter was pea-sized.

Then I added the liquid mixture and pulsed until the dough was mostly combined.

Lastly, I added the chocolate chips and just gave a few quick pulses on the food processor to start combining them.

After that, I dumped out the contents onto a floured marble board, quickly kneaded to combine, and rolled into a rectangle.

This is where you can decide how big or small to make your scones. I like making smaller scones, 32 in this case.

Place the scones on a cookie sheet and use a pastry brush to lightly wet the tops.

Sprinkle the raw sugar on the scones.

Bake for 11 - 14 minutes depending on the size and let cool.

In the meantime, melt some chocolate chips in a microwave safe bowl.

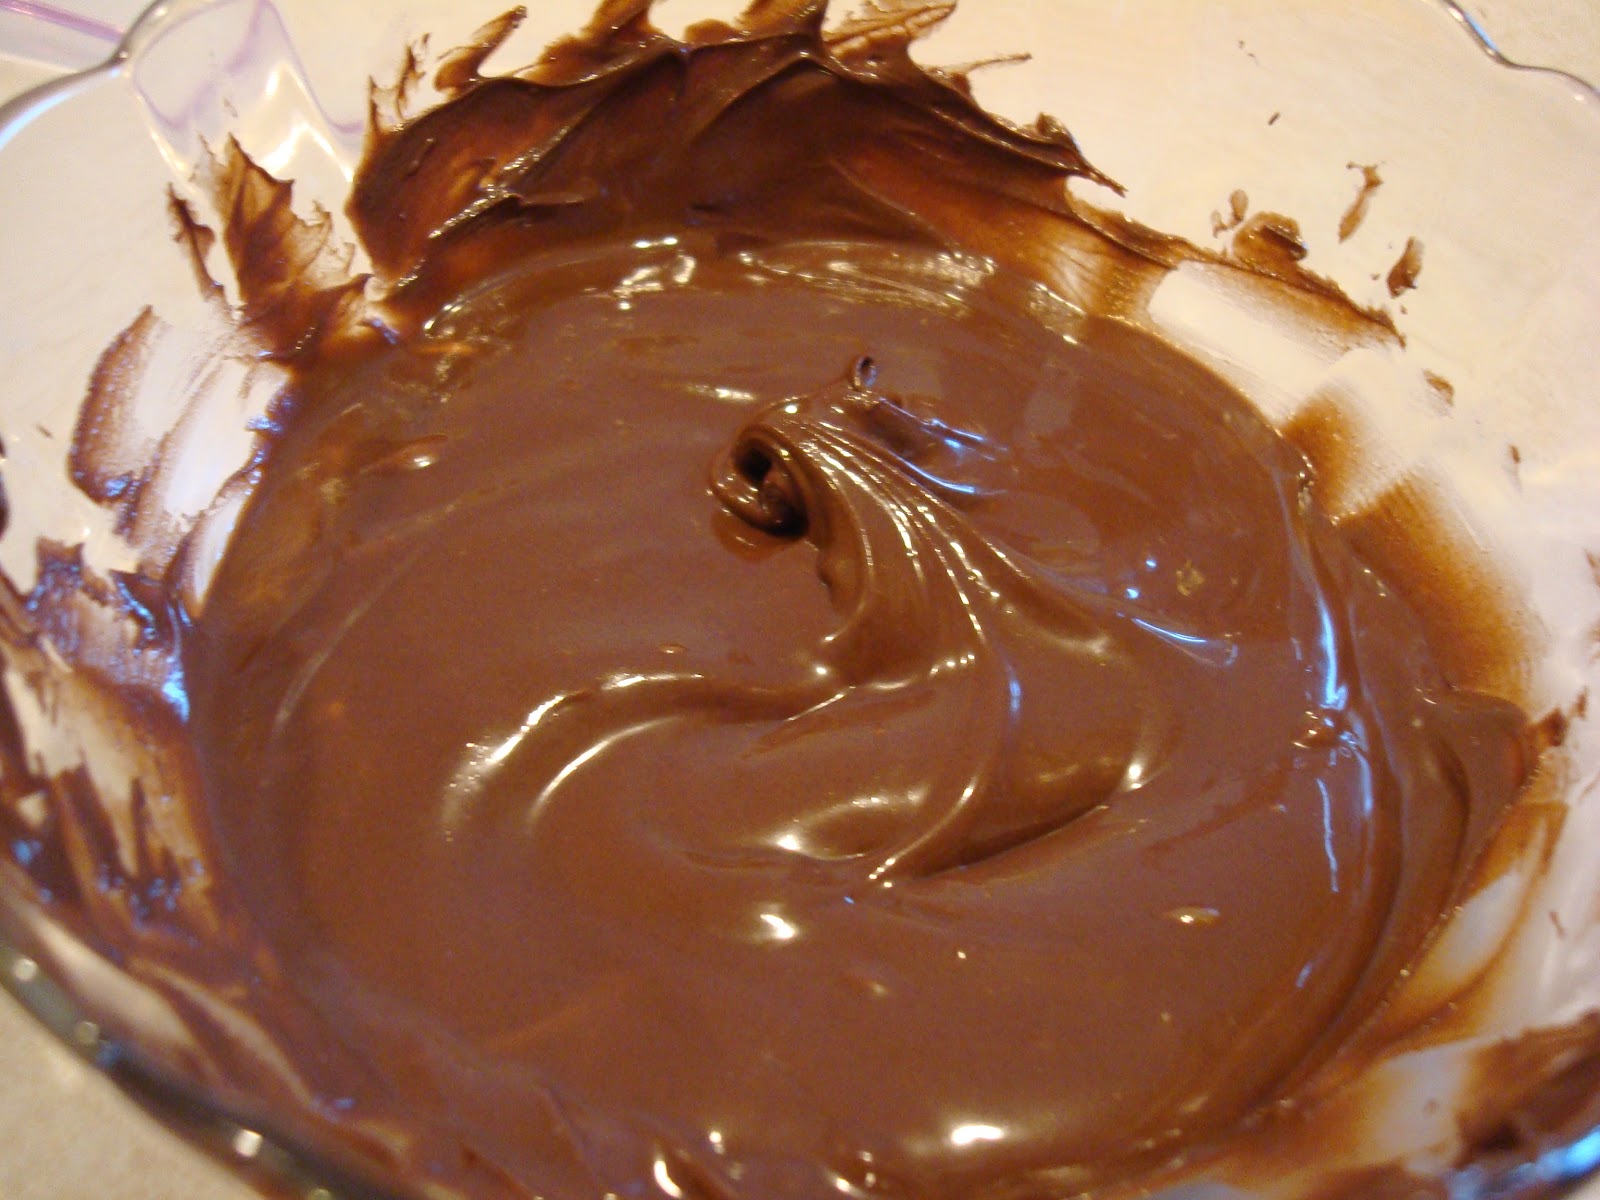
Spoon the melted chocolate into a Ziploc bag.

Drizzle over the scones.

Let the drizzled chocolate cool completely and then store in an air tight container.

They freeze very well so don't be afraid to make extra.

These scones were a good kick-off to another baking season! Here we go!

Friday, July 15, 2011

Vacation time!


I’m anxious today. So totally excited because tomorrow we are leaving on vacation!

We are going on a road trip to Avon, Colorado. I love trips that are full of new adventures and this one will surely be one of those. It is my first real road trip which I am both excited and nervous about. We do travel quite a bit but never in the car. It is also my first trip to Colorado so there will be TONS to explore! My dad and step mom are going to join us there as well but they are flying in. It’s the first trip I’ve taken with my dad since I was in sixth grade and the first with my step mom.

{so excited!}

Because of this upcoming trip I haven’t had much time to bake recently. I did make time for a TRIPLE batch of my Cinnamon Chip Scones though. I was going to make a double batch but there was just enough buttermilk and chips left for a third. So, I gave some to some coworkers and will probably freeze some (they freeze really well).

 My hubby loves these. A lot. So, I thought they’d be perfect for breakfast and snacks on the trip.  I {heart} saving money!

Though, last time I left him alone for the weekend he had no trouble consuming them for breakfast, lunch, dinner, AND snacks! Apparently you can live on them for an entire weekend – who knew? :-)

I also had a little time to bake up some cookie dough I had on hand to use up some royal icing. I didn’t, however, have time to decorate them.


Looking at those blank cookie canvases is making me crazy, they are {screaming out} for some decoration. But sometimes in life you have to have priorities and somehow I think bringing clothes on this trip with us might just be more important than beautiful cookies. I think the others at the resort would agree.

I do have several projects lined up for the couple weeks after we return so I’m looking forward to that!

In the meantime, happy baking!

Wednesday, July 13, 2011

Homemade Sprinkles

Have you ever wondered what to do with leftover ROYAL ICING after finishing a batch of cookies? I don't remember where I saw this first but it's brilliant.

You can use the icing to make SPRINKLES! 

It's super easy but, admittedly, a little tedious. Of course if you have the patience to decorate cookies, this isn't too far off from that. 

All you have to do is get a piece of wax paper and pipe dots of icing onto it. 

You can pipe LARGE DOTS or small dots

Multi-colored dots or all one color.

These sprinkles were made with mostly tip #1 and one color was tip #2.

Once they dried, I just wrinkled the wax paper over a bowl and the sprinkles just fell off. 

You can use them on cakes, cupcakes, or ice cream. Because they are royal icing, they can be stored in an air tight container for a long time.

Ice cream sundae anyone?

Sunday, July 10, 2011

Ice Cream Cone Cookies

It's hot, hot, hot (and humid) today in Minnesota. I got a bunch of new cookie cutters this weekend and I'm dying to try them out but it's just too hot.

It's definitely an ice cream kind of day. In that light, I'll share these with you.

Ice cream cookies! I got these adorable cutters a few weeks ago and I just got a chance to use them.

They are so fun for summer and they make the cutest cookies.


Hope you're staying cool today!

Thursday, July 7, 2011

Flip Flop Cookies: Remix!


We recently had some of my husband’s family in town and I wanted to make some cookies for them. The flip flop cookies I made a few weeks ago were my favorite cookies to-date and I thought our family would like them – especially the kids. Instead of making the exact same cookies, I decided to... embellish them a little.

This was actually really easy. First I made some royal icing flowers on wax paper. To make these, I
- piped a center for the flower, waited 10 minutes
- piped three non-touching flower petals, waited 10 minutes
- piped the remaining three flower petals
- set them aside to dry for a few hours

Next I outlined and filled the cookies and let them dry for about a half hour.

After all of the cookies were done up to that point, I removed the royal icing flowers from the wax paper.
Then I piped the strap onto the flip flop...

After that I just plopped the flower right onto the wet strap.

They were almost too cute to eat but we managed! ;-)


Monday, July 4, 2011

4th of July Cookies


Happy 4th of July! It's almost time to get ready for fireworks but I thought I'd sneak this post in while it's still the 4th!

For this holiday, I thought I'd try some flag cookies since I haven't made them before. Here's a brief recap of how I made them:

I was a little lazy with the stars, I just used dots of white icing. I put them on while the blue icing was still wet but since they were both a little thick, it didn't turn out completely flush.

Happy 4th of July - hope you had a great long weekend!


Saturday, July 2, 2011

Wilton Flowers & Cake Design - Week 4


For the final Wilton Flowers & Cake Design class we basically just spent the time assembling our final cakes. I prepped all of my flowers in advance so it only took about 20 minutes to put it all together.


I wasn't exactly sure what to do with everything but here's what I came up with.

Wilton Flowers & Cake Design: 4th of July Style...

The next, and last, course would be Gum Paste & Fondant but I think I'll be waiting at least a month before taking that.

Wednesday, June 29, 2011

Wilton Flowers & Cake Design - Week 4 prep


I left you with this teaser photo earlier this week. These are the flowers I made as preparation for my final cake in the Wilton Flowers and Cake Design course. I just finished filling and frosting my final cake and I thought I'd share some more photos of my decorations before putting it all together tonight.

I started out making some red roses.


Then I decided to make blue apple blossoms. I don't think blue apple blossoms really exist in real life, but they look cute and went with my theme...

Out of all the flowers we learned, I picked this one because of the contrast in size.

Finally, I made some lilies. This time I finished them following the instructions in the course book since we didn't get to that in class. 

I'm still not exactly sure how I'll put these all together on my cake, but I think it's a good contrast of sizes and textures.

Time to get ready for class!