Showing posts with label recipes. Show all posts
Tuesday, November 8, 2011
Double Chocolate Orange Scones
Where did the summer go? Last time I wrote we were heading off on vacation. We spent a week exploring beautiful Colorado and it was a fun, relaxing trip. Since then we went on another vacation (a Canada/New England cruise) and I accepted a position at a new company and switched jobs. Hopefully things are finally settling down, just in time for the craziness that is the holiday season - my favorite time of year!
I'm enjoying the cooler weather we're having in Minnesota. It's the perfect excuse to once again warm the house with my oven. Who needs those scented candles when you have the real thing?
Last weekend I decided to whip up some Double Chocolate Orange Scones. I'm not a huge fan of the chocolate and orange combination but it is subtle in this recipe and quite good. I received this recipe from my mother-in-law. Someone she knew had entered it into the Pillsbury Bake-Off a few years ago - here is the original recipe. My version has the same ingredients but the preparation is a bit different. If you do not have a food processor, go ahead and follow the original recipe's instructions.
Double Chocolate Orange Scones
Ingredients
2 cups Pillsbury BEST® All Purpose Flour
1/2 cup granulated sugar
1/3 cup Hershey’s® baking cocoa
2 teaspoons baking powder
1/2 teaspoon salt
1/3 cup cold LAND O LAKES® Butter, cut into 1/2-inch pieces
3/4 cup whipping cream
1/4 cup Smucker’s® Sweet Orange Marmalade
1 teaspoon McCormick® Pure Vanilla Extract
1 cup Hershey’s® mini chips semi-sweet chocolate
1 tablespoon raw sugar (turbinado sugar), if desired
2oz Hershey’s® semi-sweet baking chocolate or 1/3 cup Hershey’s® mini chips semi-sweet chocolate
First I combined the whipping cream, vanilla, and marmalade in a bowl. Then I cubed the cold butter and placed in another bowl and put both of those in the fridge. If you're making a double batch, go ahead and measure out several portions at this step and put them all in the fridge.
Then I measured out the chocolate chips and set aside. Again, measure out the extra batches' portions at this point.
Finally, I measured out the dry ingredients. I measured out the extra batches' dry ingredients into separate bowls and one batch right into the bowl of my food processor. Using a food processor is the major difference in my preparation. While not necessary, I think it makes making scones a breeze.
After giving that a quick few pulses to combine, I got my cold ingredients out of the fridge.
I added the cold, cubed butter to the food processor and pulsed until the butter was pea-sized.
Then I added the liquid mixture and pulsed until the dough was mostly combined.
Lastly, I added the chocolate chips and just gave a few quick pulses on the food processor to start combining them.
After that, I dumped out the contents onto a floured marble board, quickly kneaded to combine, and rolled into a rectangle.
This is where you can decide how big or small to make your scones. I like making smaller scones, 32 in this case.
Place the scones on a cookie sheet and use a pastry brush to lightly wet the tops.
Sprinkle the raw sugar on the scones.
Bake for 11 - 14 minutes depending on the size and let cool.
In the meantime, melt some chocolate chips in a microwave safe bowl.
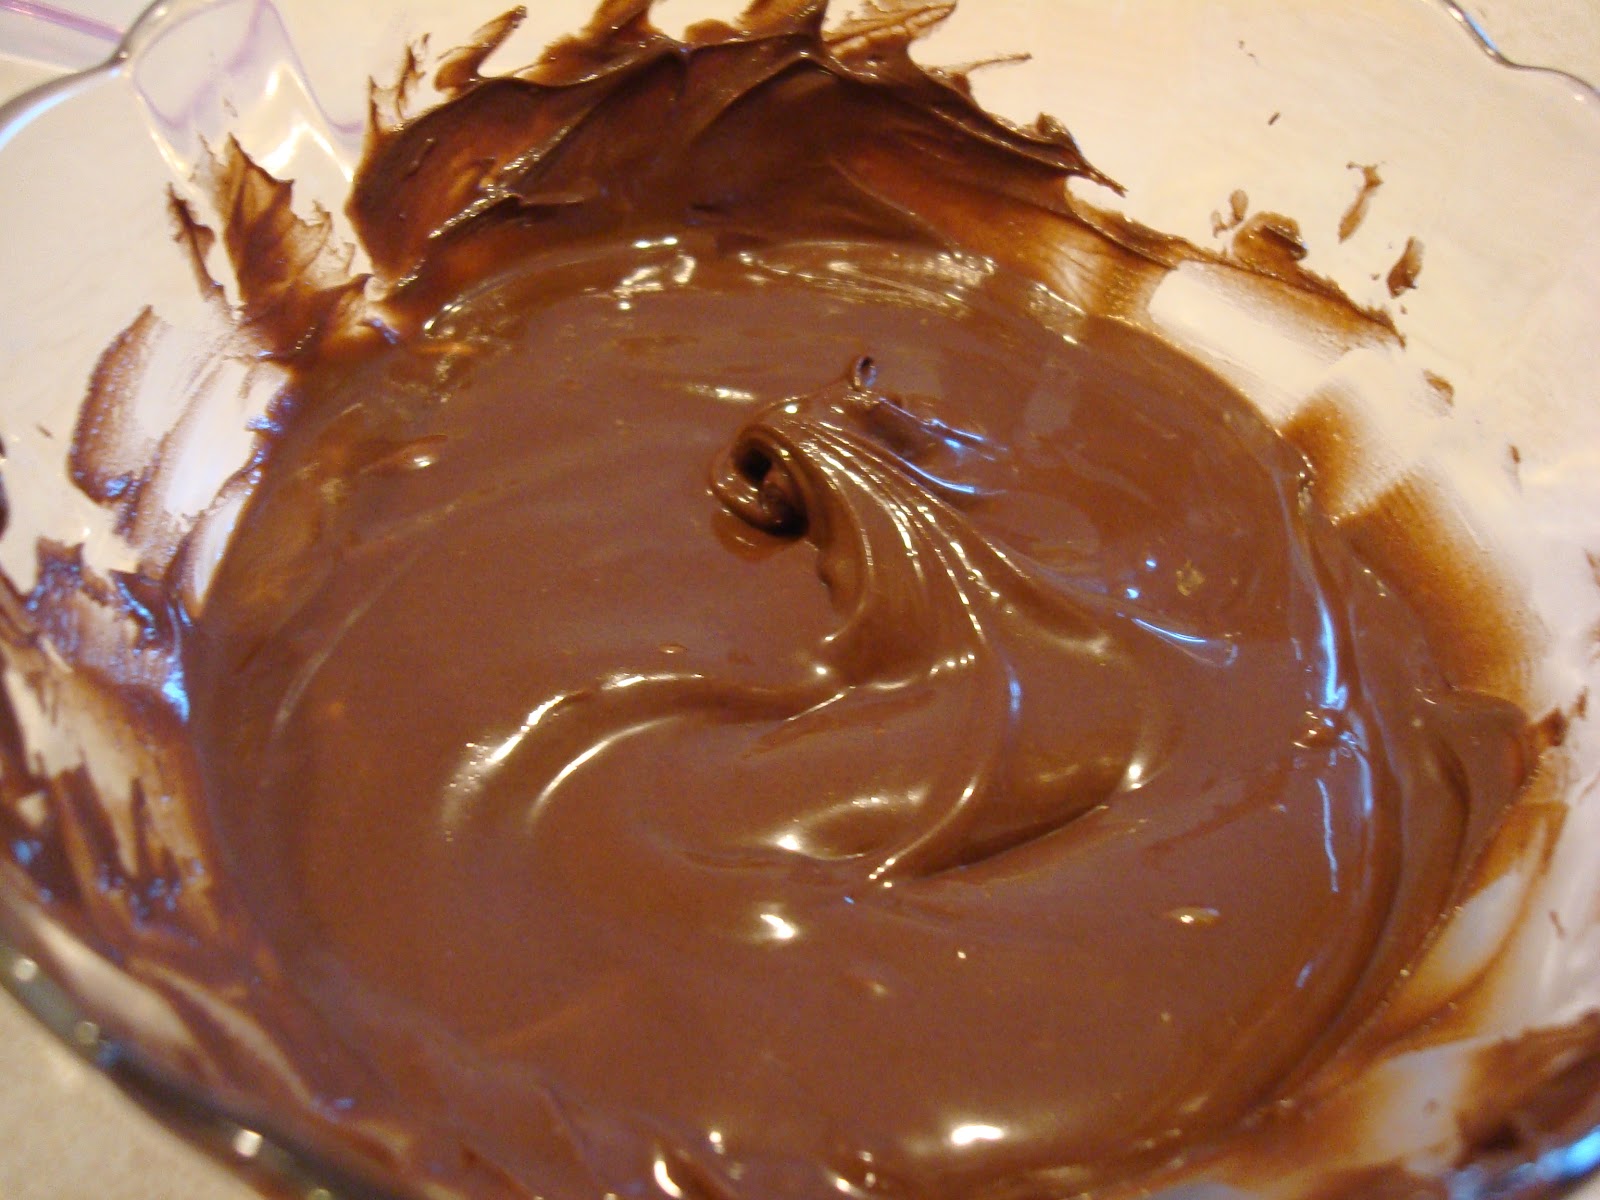
Spoon the melted chocolate into a Ziploc bag.
Drizzle over the scones.
Let the drizzled chocolate cool completely and then store in an air tight container.
They freeze very well so don't be afraid to make extra.
These scones were a good kick-off to another baking season! Here we go!
Saturday, June 25, 2011
My Favorite Frosting
Sorry I haven’t posted in over a week, I’ve been super busy and have been baking but not finding the time to blog. One of the reasons I was busy was because it was my birthday! It was on Wednesday, the 15th but I got to celebrate it (cake and all) as a joint celebration with my dad for Father’s Day.
I was thinking of trying out my new cake decorating skills on a super fancy combo birthday-Father’s day cake, but I decided that I wanted my tried and true, favorite cake for my birthday. Devil’s food cake with cooked vanilla frosting.
I’m not sure where the recipe originated but it is the one my mom has been making all my life. I love it because it isn’t too sweet – it’s creamy and amazingly delicious. You can’t decorate a cake with it because it is too soft, butI started using as a filling for my decorated cakes to reduce the overall sweetness from the decorating buttercream.
I know the directions sound a little weird but I promise it is ridiculous delicious. Try this frosting. Seriously. Just do it, you won’t be sorry.
Cooked Vanilla Frosting
Ingredients
3 Tbls flour
¾ cups milk
6 Tbls shortening
6 Tbls butter
¾ cups granulated sugar
1.5 tsp vanilla
Directions
1. Combine flour and milk over medium heat, stirring constantly with a whisk, until thickened. It should be about the same time the mixture starts bubbling.
2. Pour mixture into a bowl, cover with plastic wrap touching surface of mixture, and place in the fridge.
3. In the meantime, cream together shortening and butter for several minutes.
4. Add sugar and beat for several minutes until fluffy.
5. When flour mixture has cooled to room temperature, add to butter mixture and beat for another several minutes until frosting is very fluffy.
6. Add vanilla and beat until combined.
7. Enjoy the most delicious frosting you’ve ever have!
* For this four tier cake, I tripled the recipe
Wednesday, June 15, 2011
Mini Oreo Cheesecakes
Cheesecake. Probably my favorite dessert. A couple years ago, I was introduced to this place in St. Paul called Cafe Latte. It is sort of an upscale cafeteria-style place and I was told that desserts were their specialty so definitely leave room. That day I got my first taste of Oreo Cheesecake. It was sooooo good! I've since gone back once or twice but haven't been lucky enough to run into Oreo Cheesecake again.
Solution: make my own! So here's my version, mini-sized.
Mini Oreo Cheesecakes
Ingredients
Crust:
18 Oreo cookies
3 Tbls butter
Cheesecake:
3 8oz packages of cream cheese, room temp
1 15oz can sweetened condensed milk
3 eggs
2 Tbls vanilla
12 Oreos, roughly chopped
Oreos for topping
Directions
Prep: Heat oven to 350 degrees
1. Line 24 muffin cups with liners
2. Add 18 Oreos to a food processor
3. Pulse until crumbs form
4. Melt butter in a small bowl. Add Oreos and combine until evenly coated.
5. Add a rounded tablespoon of the Oreo mixture to each liner
6. Use a shot glass to press crumbs into the bottom of the liner. I find it works best to press and twist as you lift up to prevent sticking
7. In a large bowl, beat softened cream cheese until fluffy
8. Beat in sweetened condensed milk
9. Add eggs one at a time, beating after each one
9. Add vanilla and combine
10. Add chopped Oreos to the batter
11. Stir until just combined
12. Spoon batter into muffin liners
They will be pretty full when you are done, that's okay
13. Bake for approximately 15 minutes, rotating pans halfway through
14. Let cool in pan for 5 minutes then remove to cooling rack or directly to refrigerator
15. Top with quartered Oreos if desired
Last but not least, ENJOY!
Sunday, May 15, 2011
Cinnamon Chip Scones
You know why breakfast is awesome? Because there are so many breakfast foods that resemble dessert. Does any other meal have more foods that contain as much sugar as breakfast foods? Only if you count dessert as a meal.
Cinnamon rolls, syrup-covered waffles, pancakes, and french toast, donuts, pop-tarts, muffins. Pretty much all of these are a form of either cake or cookies dressed up in, what I like to call, their breakfast-suit.
Okay, okay. I know that most people don’t eat these things for breakfast ever day, which is good. But they are delicious, fun breakfast treats to have and today I want to share with you my favorite cookie-in-a-breakfast-suit: the scone!
Scones are like a thicker, fluffier, less sweet cookie. This is one of my favorite scone recipes. It is adapted from one that my step mom gave me. These are always a hit! If you try them out, leave a comment and let me know - I'd love to hear about it!
Cinnamon Chip Scones
2/3 cup buttermilk
1 egg
1 tsp vanilla
3 cups flour
4 tsp baking powder
½ tsp baking soda
½ tsp salt
½ tsp cinnamon
8 tbls butter (1 stick)
½ cup sugar
½ cup cinnamon chips
¼ cup cinnamon/sugar mixture (if desired)
water
1. Preheat oven to 375 degrees
2. In a small bowl, mix buttermilk, egg, and vanilla
3. In a 7-cup (or larger) food processor, add flour, baking soda and powder, salt, and cinnamon. Pulse a few times to blend
4. Dice butter into small cubes, add to food processor
5. Pulse food processor until butter is pea-sized
6. Add sugar and pulse a couple times to incorporate
7. Add liquid mixture and pulse until everything is incorporated. Be careful not to over-mix or dough will become tough and elastic (disclaimer: this has happened to me and they still tasted delicious - so don't sweat it!)
8. Once wet and dry ingredients are starting to form a dough, dump onto a floured surface
9. Add cinnamon chips and kneed gently to finish incorporating ingredients
10. With your hands, or a rolling pin, form dough into a square approximately ¾ inch thick
11. Cut dough into 32 triangles as follows, place on cookie sheets
12. Wet tops of scones with water, sprinkle with cinnamon/sugar mixture (optional)
13. Bake for 8-12 minutes
14. Scones are done when tops are firm when lightly tapped with finger
15. Cool 2 minutes on pan, remove to cooling rack
What’s your favorite dessert in a breakfast-suit?
Monday, April 18, 2011
Cookies galore
I had a couple different objectives in mind when making up a batch of dough this weekend and I think I’d consider all of them a success!
Goal 1: Try out some tweaks to my usual sugar cookie and frosting recipes
Last weekend I tried a different recipe for rolled sugar cookies while trying flooded sugar cookies for the first time (see the results here). I loved the slight almond flavor of the cookies but the texture wasn’t what I was used to from my usual recipe. So, here’s what I came up with – the best of both worlds.
This recipe makes delicious, soft, chewy cookies.
Rolled Sugar Cookies
Ingredients
5 cups all-purpose flour
1 teaspoon salt
1 1/2 cups butter
3 cups granulated sugar
4 eggs
1 teaspoon vanilla extract
1 teaspoon almond extract
Directions
1. In a large bowl, combine the flour and salt. Set aside.
2. In electric mixer, cream together butter and sugar until smooth. Beat in eggs and extracts. Gradually add the flour mixture. Cover, and chill dough for at least one hour (or overnight).
3. Preheat oven to 400 degrees F. Roll out dough on floured surface 1/4 inch thick. Cut into shapes with any cookie cutter. Place cookies 1 inch apart on ungreased cookie sheets.
4. Bake 6 to 8 minutes in preheated oven. Cool completely.
Sugar Cookie Frosting
Ingredients
4 cups confectioners' sugar
1/2 cup shortening
5-9 tablespoons milk
3/4 teaspoon vanilla extract
1/4 teaspoon almond extract
food coloring (optional)
Directions
1. In a large bowl, begin creaming together the confectioners' sugar and shortening at low speed with an electric mixer.
2. Add 4 tablespoons of milk and the extracts.
3. If needed, add additional milk a little at a time until you get the desired consistency. It should be thick and smooth. Divide and color with food coloring if desired.
Goal 2: Figure out how I’m going to decorate cookies for a birthday party next month
I’m always looking for reasons to bring treats into work – I love to make them... and also love to spread out the calories! I’ve brought my sugar cookies a few times and one of my coworkers recently asked if I could make them for her daughter’s 5th birthday party.
So I got my test batch made but I decided my usual way of frosting them – with just a knife – wouldn’t suffice. I wanted something more special for a 5 year old girl who loves pink and purple and sparkles (from what her mom tells me :-). And plus, I wouldn’t turn down a chance to play with making things pink and sparkly and adorable! We’re talking the same language - this is a girl after my own heart!
First I made up a batch of my sugar cookie frosting.
Then I divided it up into four bowls and picked colors.
I used my new Wilton gel paste food coloring to color the frosting. I decided on pink, purple, and blue for the flowers.
| A mix of Teal and Royal Blue |
And this is what we get! I've learned after using these a few times that the color gets a lot deeper as it dries. You can tell in the final photos.
With gel coloring you use toothpicks to add color to the frosting.
Then I got out some piping bags, put a coupler tip in each one.
I snipped the bag and added a piping tip to each one.
| Push the coupler piece as far down as it will go. |
| Snip off the end of the bag just a bit past the end of the coupler. |
| Add a decorating tip and screw on the other piece of the coupler. |
Then I prepped the bags for filling. If the frosting has started to crust at all while coloring the other dishes, give it a good stir before adding it to the bag.
| Fold the bag over the edges of the glass and fill |
| Hold filled bag under cuff and pull down near the coupler with the other hand to fold up the edges of the bag. |
After they were filled, I twisted the tops and added a twist tie to secure them.
And we’re ready to pipe on our frosting!
I tried a few different designs, piping the frosting onto the flowers with different size decorating tips. Nothing was turning out (luckily mistakes still taste good when it comes to decorating!). Finally I came up with a few things I liked. I think they turned out pretty cute.
| Sugar cookie sandwiches - complete with shimmer dust! |
I love the shimmer dust on the cookies, it’s so cute! I think they’re perfect for a little girl’s birthday party. I hope she loves them! Today I brought in a little box filled with them for my coworker to bring home.
Goal 3: Experiment with cookie pops
I was excited to try this one out. I have a few ideas for cookie pops coming up and I figured since I was making a batch of dough to test stuff out with, I might as well test this out too.
I’ll be using my cookie pops in a project later this week so I will post photos and instructions for that then.
Goal 4: Try out some of my fun new decorating toys
On Sunday I picked up the Wilton Ultimate Decorating Kit from Michael’s (yay for 50% off coupons!). 177 pieces of cake/cookie-decorating joy.
I bought it in prep for starting the Wilton Decorating Basics class in a couple weeks. And there are two more courses after that one but I haven’t decided yet if/when I will take them.
When I was done frosting the cookies I used the rest of the frosting to try out some of the different decorating tips. Unfortunately by the time I got this far my frosting was of a thinner consistency than would have been ideal, probably because I’d been handling it and it had warmed up. But I practiced my writing with these cool practice sheets they give you. It was fun but I will need a lot more practice I’m sure!
I have a full week of treats to make this week. Thanks for stopping by... Happy Monday!
Subscribe to:
Posts (Atom)

